Malware Analysis:
Quiz 2
Submitted by:
Jack McCarthy
TD Waterhouse
jackmccarthy -AT- (\tdwaterhouse & com
October 14, 2005
|
Creating
a SelF eXtracting (SFX) Archive File Using WinRAR This will show how the self-extracting file malware-quiz.exe was most
likely created by Pedro when using the program WinRAR. Let’s begin the archiving process for this
file. Or as I like to phrase it, “Let’s
roll this ‘evil’ file up into a self-extracting, innocent looking file with a
pretty little MSN butterfly icon on top.” Step
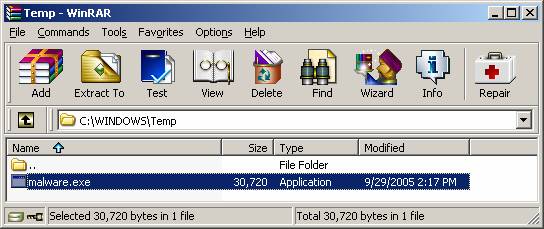
1 Start
up the WinRAR application; click ‘Browse for folder’ under the ‘File’ menu
and browse to the location of the file.
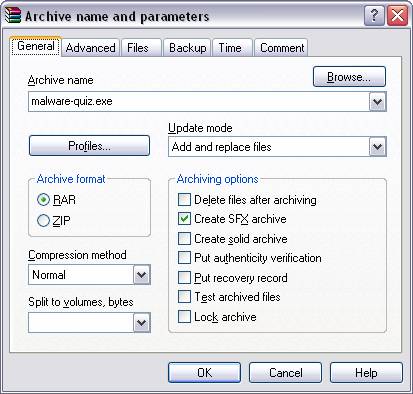
Fig. 1 Step2 With
the file highlighted, clicking on the ‘Add’ button will kickoff the archiving
process. In Fig.2 we are given the
opportunity to give our new archive-to-be a name and selecting the ‘Create SFX
archive’ option will give the file its self-extracting feature.
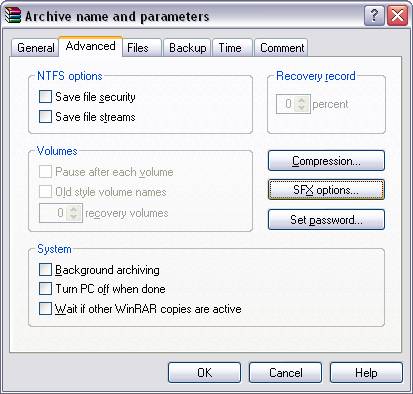
Fig. 2 Step
3 In Fig.3, under the ‘Advanced’ tab and clicking on the ‘SFX
options’ button will lead us to Fig. 4, where we can now configure our
‘Advanced SFX options’.
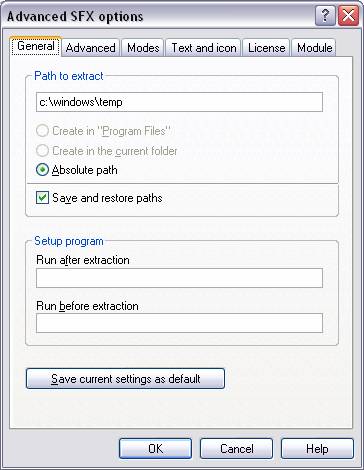
Fig.3 Step
4 This is where all of our self-extracting configurations
will be set. The default ‘Path to
extract’ is configured under the ‘General’ tab.
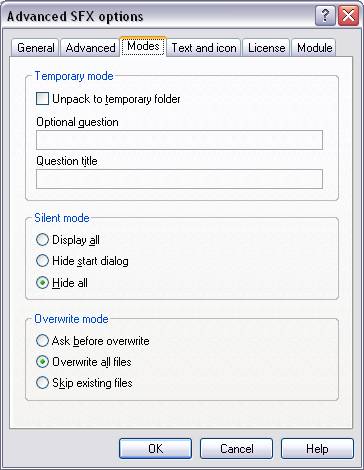
Fig. 4 Step
5 The ‘Modes’ tab will give us our ability to drop
into ‘silent’ mode, making sure nothing is displayed on the screen when the
file is executed.
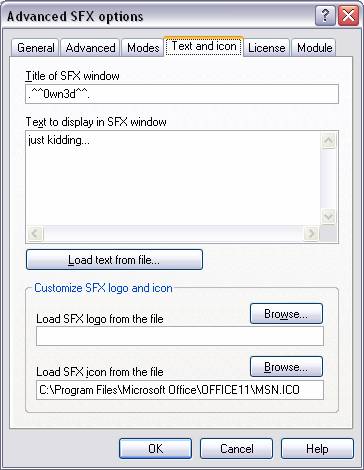
Fig. 5 Step
6 The ‘Text and icon’ tab is where you set the
title of the SFX window (that we’re suppressing from being displayed, ‘silent
mode’), the text to be displayed in the SFX window (again, not seen due to
‘silent mode’) and towards the bottom is where you can pick the deceiving
icon that you would like to be associated to this file.
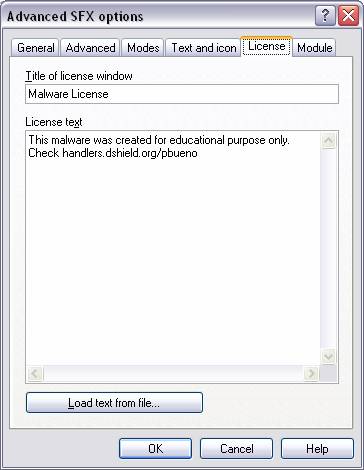
Fig. 6 Step
7 The ‘License’ tab is where you can set the title
of the licensing window and any licensing text that you want to have
displayed. Again, this window will not
be displayed due to the ‘silent mode’ that we will be running under.
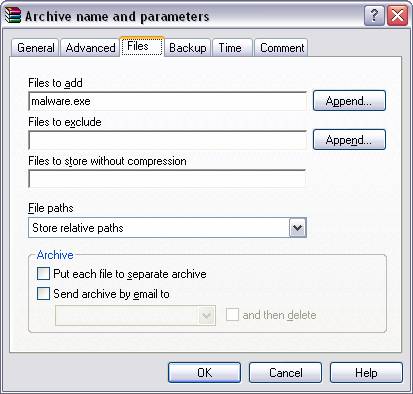
Fig. 7 Step
8 After clicking the ‘OK’ button we are taken back
to the main configuration tabs. The
‘File’ tab is where you will choose the file you want to archive (the ‘evil’
file that we are rolling up). In our
case it’s the file malware.exe.
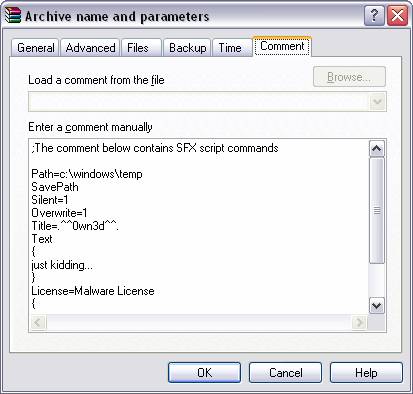
Fig. 8 Step
9 The ‘Comment’ tab contains a list of all the
different configurations that we have set during this archive process. The interesting part here is that we could
clear out all of this text and have no comment at all. This would have made it a little more
challenging to figure out the configuration settings.
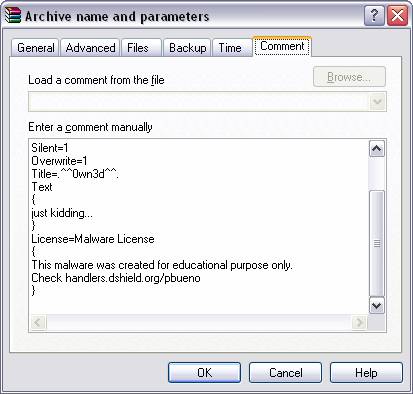
Fig. 9 This screen shot just scrolls down the rest of
the text so you can see the full comment.
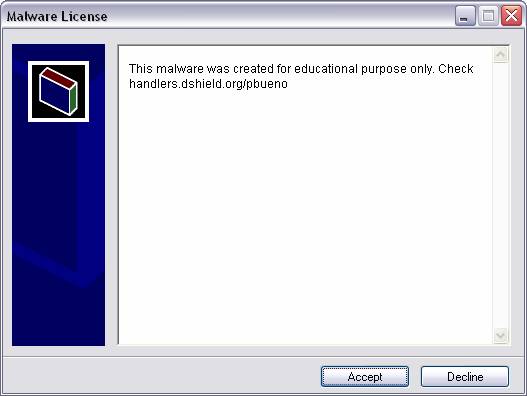
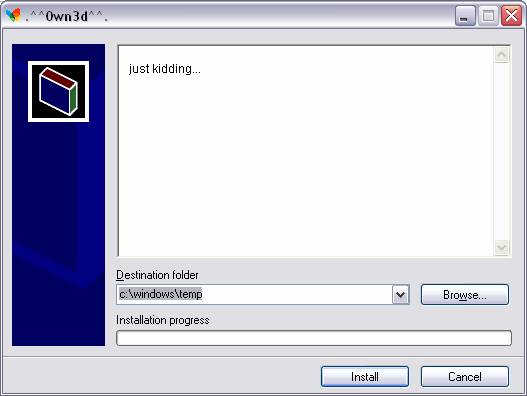
Fig. 10 These next two screen shots (11 & 12) are
most likely what you don't see
when you execute and run malware-quiz.exe.
Although, the little graphic located in the white box on the left-hand
side could have been different.
Fig. 11
Fig. 12 |